Overview #
Learn how to set up a local AI development environment using Ollama and DevContainers for seamless, cost-free LLM integration in Visual Studio Code.
Ollama #
Ollama is a simple, open-source tool that allows you to download, run, and manage large language models (LLMs) on your own computer, making it easier to use powerful AI locally and privately without relying on cloud services.
Open the Ollama website and click on the Download link. Install the version that is compatible with your operating system.
Run following command to start using Llama 3.2 in your terminal.
ollama run llama3.2
DevContainer #
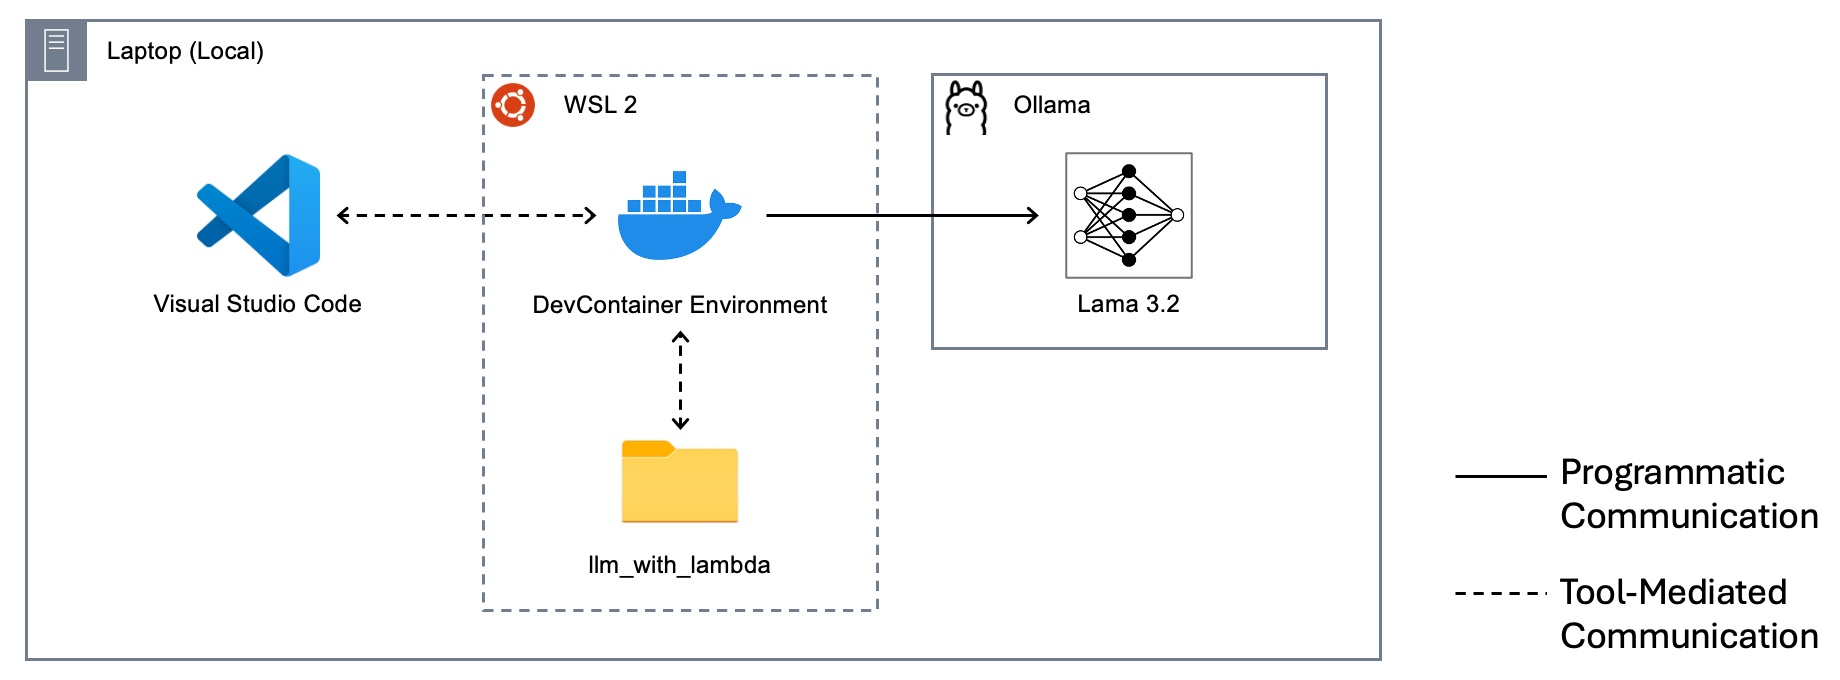
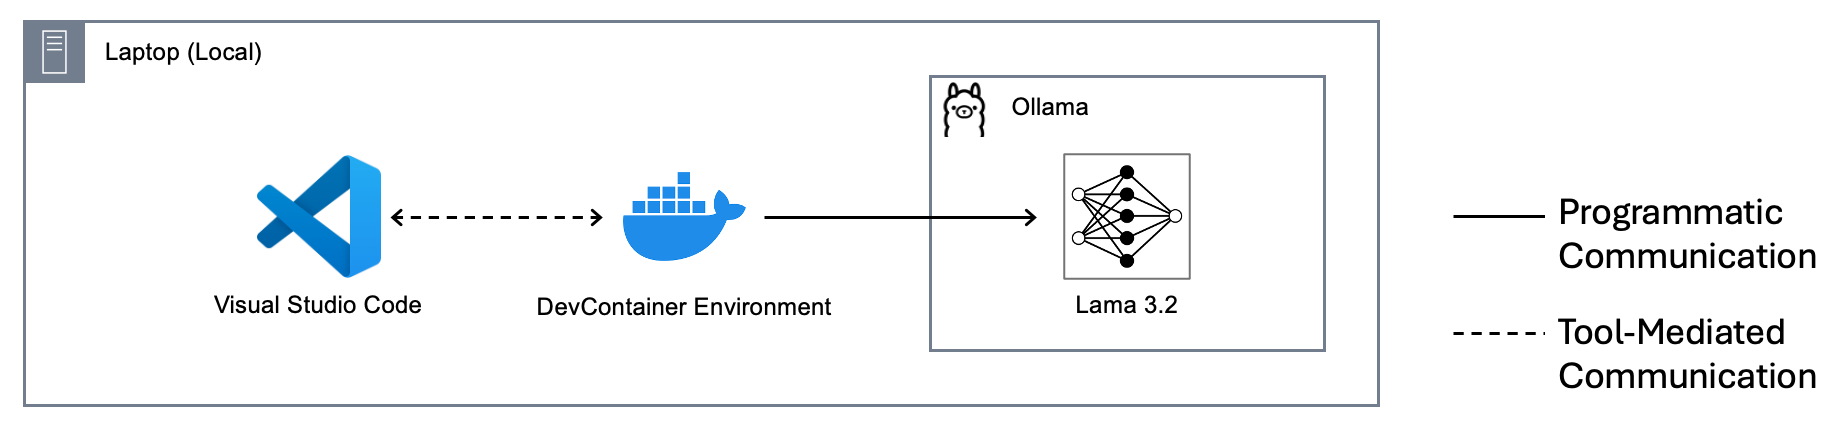
DevContainers enables the use of a Docker container as a complete development environment within Visual Studio Code. This allows developers to standardize and isolate their development environments, ensuring consistency across teams and projects.
Windows users #
Click here to skip to the next section if you are not using Windows.
Most of our instructions will be based on a Linux-like terminal and Shell environment. To align Windows with Mac and Linux we are going to use the Windows Subsystem for Linux Version 2 (WSL 2) for Windows users.
We need WSL 2 to run our DevContainer environment. For Windows 11 and Windows 10 with version 1903 or higher, with build 18362 or higher WSL will automatically install version 2. Otherwise you have to stop here unfortunately.
Open PowerShell as an administrator and run the command wsl --install. This will install WSL and the default Ubuntu distribution. After the installation, you’ll need to restart your computer. Once restarted, a setup process will begin in a new window, prompting you to create a Unix username and password for your Linux distribution.
It’s always better to verify that a distribution is running on WSL 2. Run command wsl -l -v and you should see an output similar to the following.
PS C:\Users\user> wsl -l -v
  NAME      STATE     VERSION
* Ubuntu    Running   2
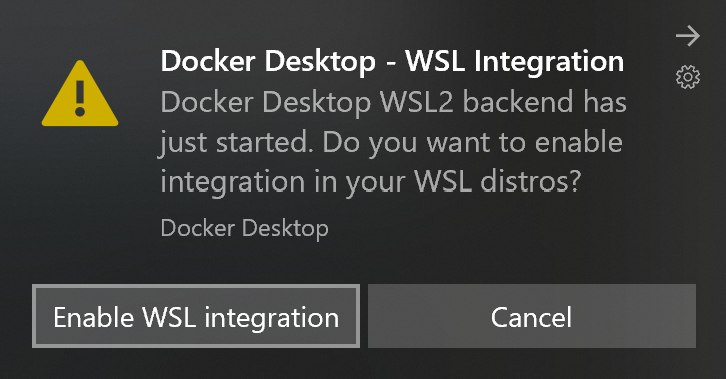
Docker will detect WSL and ask for enabling integration. Choose Enable WSL integration.
The WSL 2 file system provides a better performance for the Docker engine. This is a recommended practice from Microsoft. We will find out more after we set up the DevContainer environment.
DevContainer setup #
Start with a project folder llm_with_lambda and create a sub-folder called .devcontainer. Then create a JSON file with name devcontainer.json in the sub-folder.
The folder structure looks as the following
llm_with_lambda
`-- .devcontainer
    `-- devcontainer.json  # New file
Copy and paste the following content into the devcontainer.json file.
{
  "name": "Python Dev Container with Pipenv and Ollama Access",
  "image": "mcr.microsoft.com/vscode/devcontainers/python:3.11",
  "runArgs": [
    "--network=host",
    "--add-host=host.docker.internal:host-gateway"
  ],
  "customizations": {
    "vscode": {
      "extensions": [
        "ms-python.python",
        "ms-python.vscode-pylance"
      ]
    }
  },
  // No need to run pipenv install after pipenv install --dev. The --dev flag installs both default and development dependencies.
  "postCreateCommand": "pip install --user pipenv && pipenv install --dev",
}
Then create a text file with name Pipfile in the project root. The folder structure should look like the following.
llm_with_lambda
|-- .devcontainer
|   `-- devcontainer.json
`-- Pipfile  # New file
Copy the following content to the Pipfile.
[[source]]
url = "https://pypi.org/simple"
verify_ssl = true
name = "pypi"

[packages]
ollama = "*"
requests = "*"

[dev-packages]

[requires]
python_version = "3.11"
By now you have created a bare minimum Python project environment for Visual Studio Code. Next we will verify this setup.
Verify DevContainer setup #
If you don’t have Docker running or installed it’s time to do this first.
Open Visual Studio Code and then use its Open Folder… function under the File menu to open the folder llm_with_lambda folder we created previously.
The DevContainer extension will recognize the .devcontainer folder and the settings specified in the JSON file. It will pull the Docker image specified in the JSON from Microsoft and run in your local Docker engine.
Visual Studio Code will then use this Docker container as the development environment.
Windows users #
Click here to skip to the next section if you are not using Windows.
Let Visual Studio Code open the project folder through WSL is important. This will run the dev container in Linux context with a better file system performance compare to Windows’ NTFS file system.
Open the WSL terminal and navigate to the project root folder. Run command code . will open Visual Studio Code. The . tells Visual Studio Code that the current path is the folder to be opened.
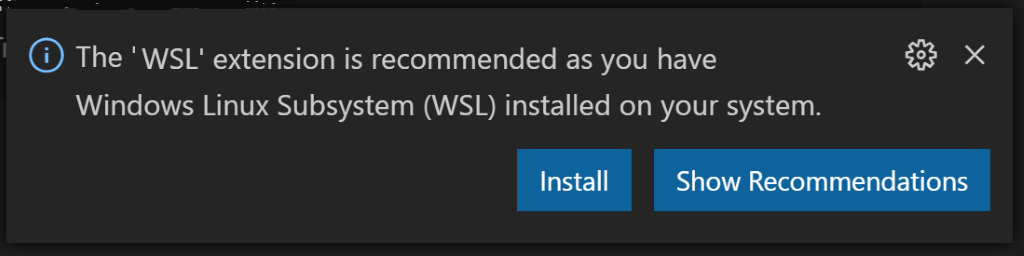
Visual Studio Code will detect it’s a WSL context and recommend to install WSL extension. Choose Install.
Prepare to call Ollama #
Next we are going to make a REST API call to the Ollama running on the host.
Create a src folder in the project root and add a Python file named as main.py. The folder structure should look like the following now.
llm_with_lambda
|-- .devcontainer
|   `-- devcontainer.json
|-- src
|   `-- main.py  # New file
|-- Pipfile
`-- Pipfile.lock  # Auto generated by Pipenv
A new file (Pipfile.lock) is generated by the pipenv install --dev command which is specified in the DevContainer settings in the postCreateCommand setting.
from ollama import Client

# Specify the host URL for Ollama's REST API
client = Client(host='http://host.docker.internal:11434')

# Send user prompt to Llama 3.2 model
response = client.chat(
    model='llama3.2',
    messages=[{'role': 'user', 'content': 'Hello from the devcontainer with Pipenv!'}]
)
print(response['message']['content'])
The host host.docker.internal is specified in the runArgs setting in the DevContainer settings. These arguments are used for starting the dev container running in the Docker engine.
--network
#
This flag determines which network stack the container will use, isolating its network from the host or other containers based on the chosen driver.
host network: This mode removes network isolation, and the container shares the host machine’s networking stack directly. The container’s application can be accessed via the host’s IP address and port without any port mapping. This is useful for performance-intensive applications or network monitoring.
--add-host
#
This flag adds a static hostname-to-IP mapping to the container’s /etc/hosts file. It is used for manually overriding DNS or providing a custom name for a specific IP address.
--add-host=database:192.168.1.5, for example, adds an entry in the /etc/hosts file in the dev container so that we can use database as the DNS name instead of the IP address 192.168.1.5 inside the dev container.
host-gateway, on the other hand, is a special, dynamic string that instructs Docker to automatically resolve to the IP address of the Docker host machine’s network gateway. This is used to allow a container to access services running on the host machine itself.
Calling Ollama #
Run following command in Visual Studio Code’s terminal to execute the Python code saved in main.py.
pipenv run python src/main.py
The output in the Terminal should be similar to the following.
You're using a dev container with Pipenv!

The "Hello, world!" greeting is a traditional way to test if someone's code is running correctly. In this case, it seems like your dev container is up and running.

To confirm, I'd be happy to chat with you about your dev container setup or help you troubleshoot any issues you might be facing. What would you like to know or discuss?
Achievement #
So far we have created a development environment with an LLM running locally that we can use through our Python code without introducing any cost. When our prompt(s) becomes ready we can switch to the frontier model such as GPT5, Grok4, and Claude Opus.
Windows users #
The setup in Windows is slightly more involved with an extra layer of Windows Subsystem for Linux.